Light switches are an essential component of any home electrical system. However, just like any other electrical device, light switches can encounter various problems over time. Understanding how light switches work and being aware of common issues can help homeowners troubleshoot and resolve these problems efficiently. In this article, we will explore the mechanics of light switches, identify common problems, discuss safety precautions, and provide step-by-step solutions to ensure functional light switches in your home.
Understanding Light Switch Mechanics
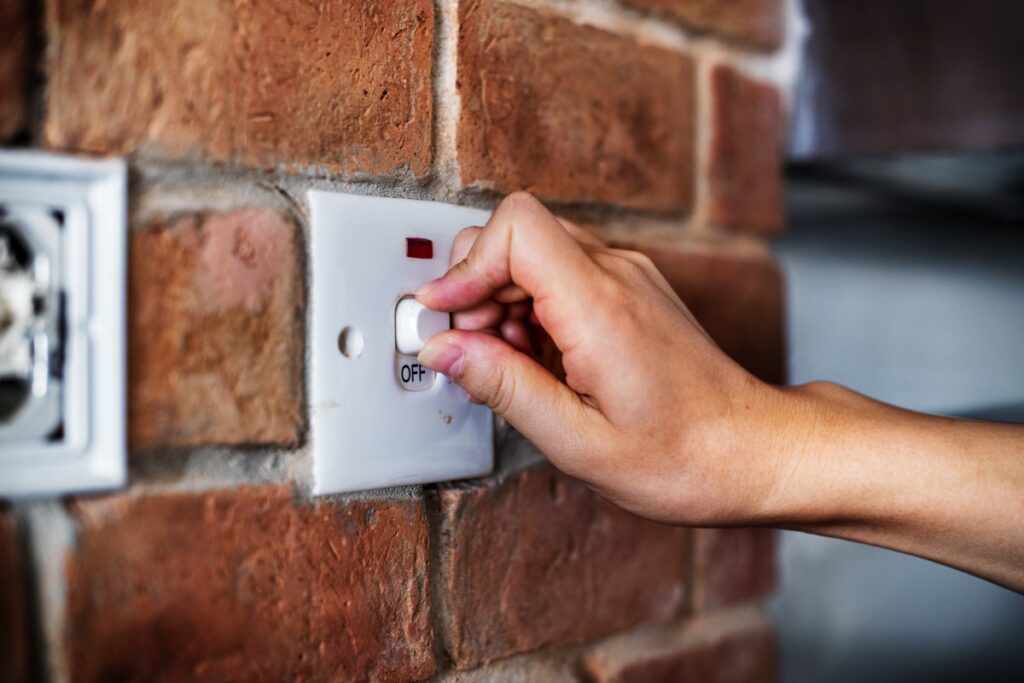
Before delving into troubleshooting, it’s crucial to grasp the role of a light push button switch within a home electrical system. A light switch serves as a control mechanism to turn lights on and off. When the switch is in the off position, the circuit is open, and no electricity flows to the light fixture. Conversely, when the switch is turned on, the circuit is closed, completing the path for electricity to illuminate the light bulb.
The Role of a Light Switch in a Home Electrical System
A light switch is typically connected to a hot wire, which carries electrical current from the power source to the light fixture. The switch interrupts or completes the circuit by connecting or disconnecting the hot wire. This interruption or completion enables homeowners to control the flow of electricity and ultimately control the lights in their homes.
Understanding the mechanics behind a light switch is essential for homeowners to troubleshoot any issues that may arise. By comprehending how the switch functions within the electrical system, individuals can identify potential problems and take appropriate action.
When a light switch fails to turn on the lights, it could indicate a faulty switch or a problem with the electrical circuit. Troubleshooting involves checking the switch’s wiring connections, ensuring they are secure and properly connected. Additionally, homeowners may need to inspect the circuit breaker panel to see if any breakers have tripped, cutting off power to the switch.

It’s also important to note that light switches can wear out over time due to frequent use. The mechanical components inside the switch can become worn or damaged, leading to switch failure. In such cases, replacing the switch with a new one is often necessary.
Related: The Future of Home Electrical Safety
Different Types of Light Switches and Their Functions
There are various types of light switches available, each serving a specific purpose. The most common types include single-pole switches, three-way switches, and dimmer switches. Single-pole switches are the standard switches used to control lights from one location. Three-way switches allow control from two different locations, usually found at the top and bottom of a staircase. Dimmer switches, as the name suggests, enable homeowners to adjust the brightness of lights.
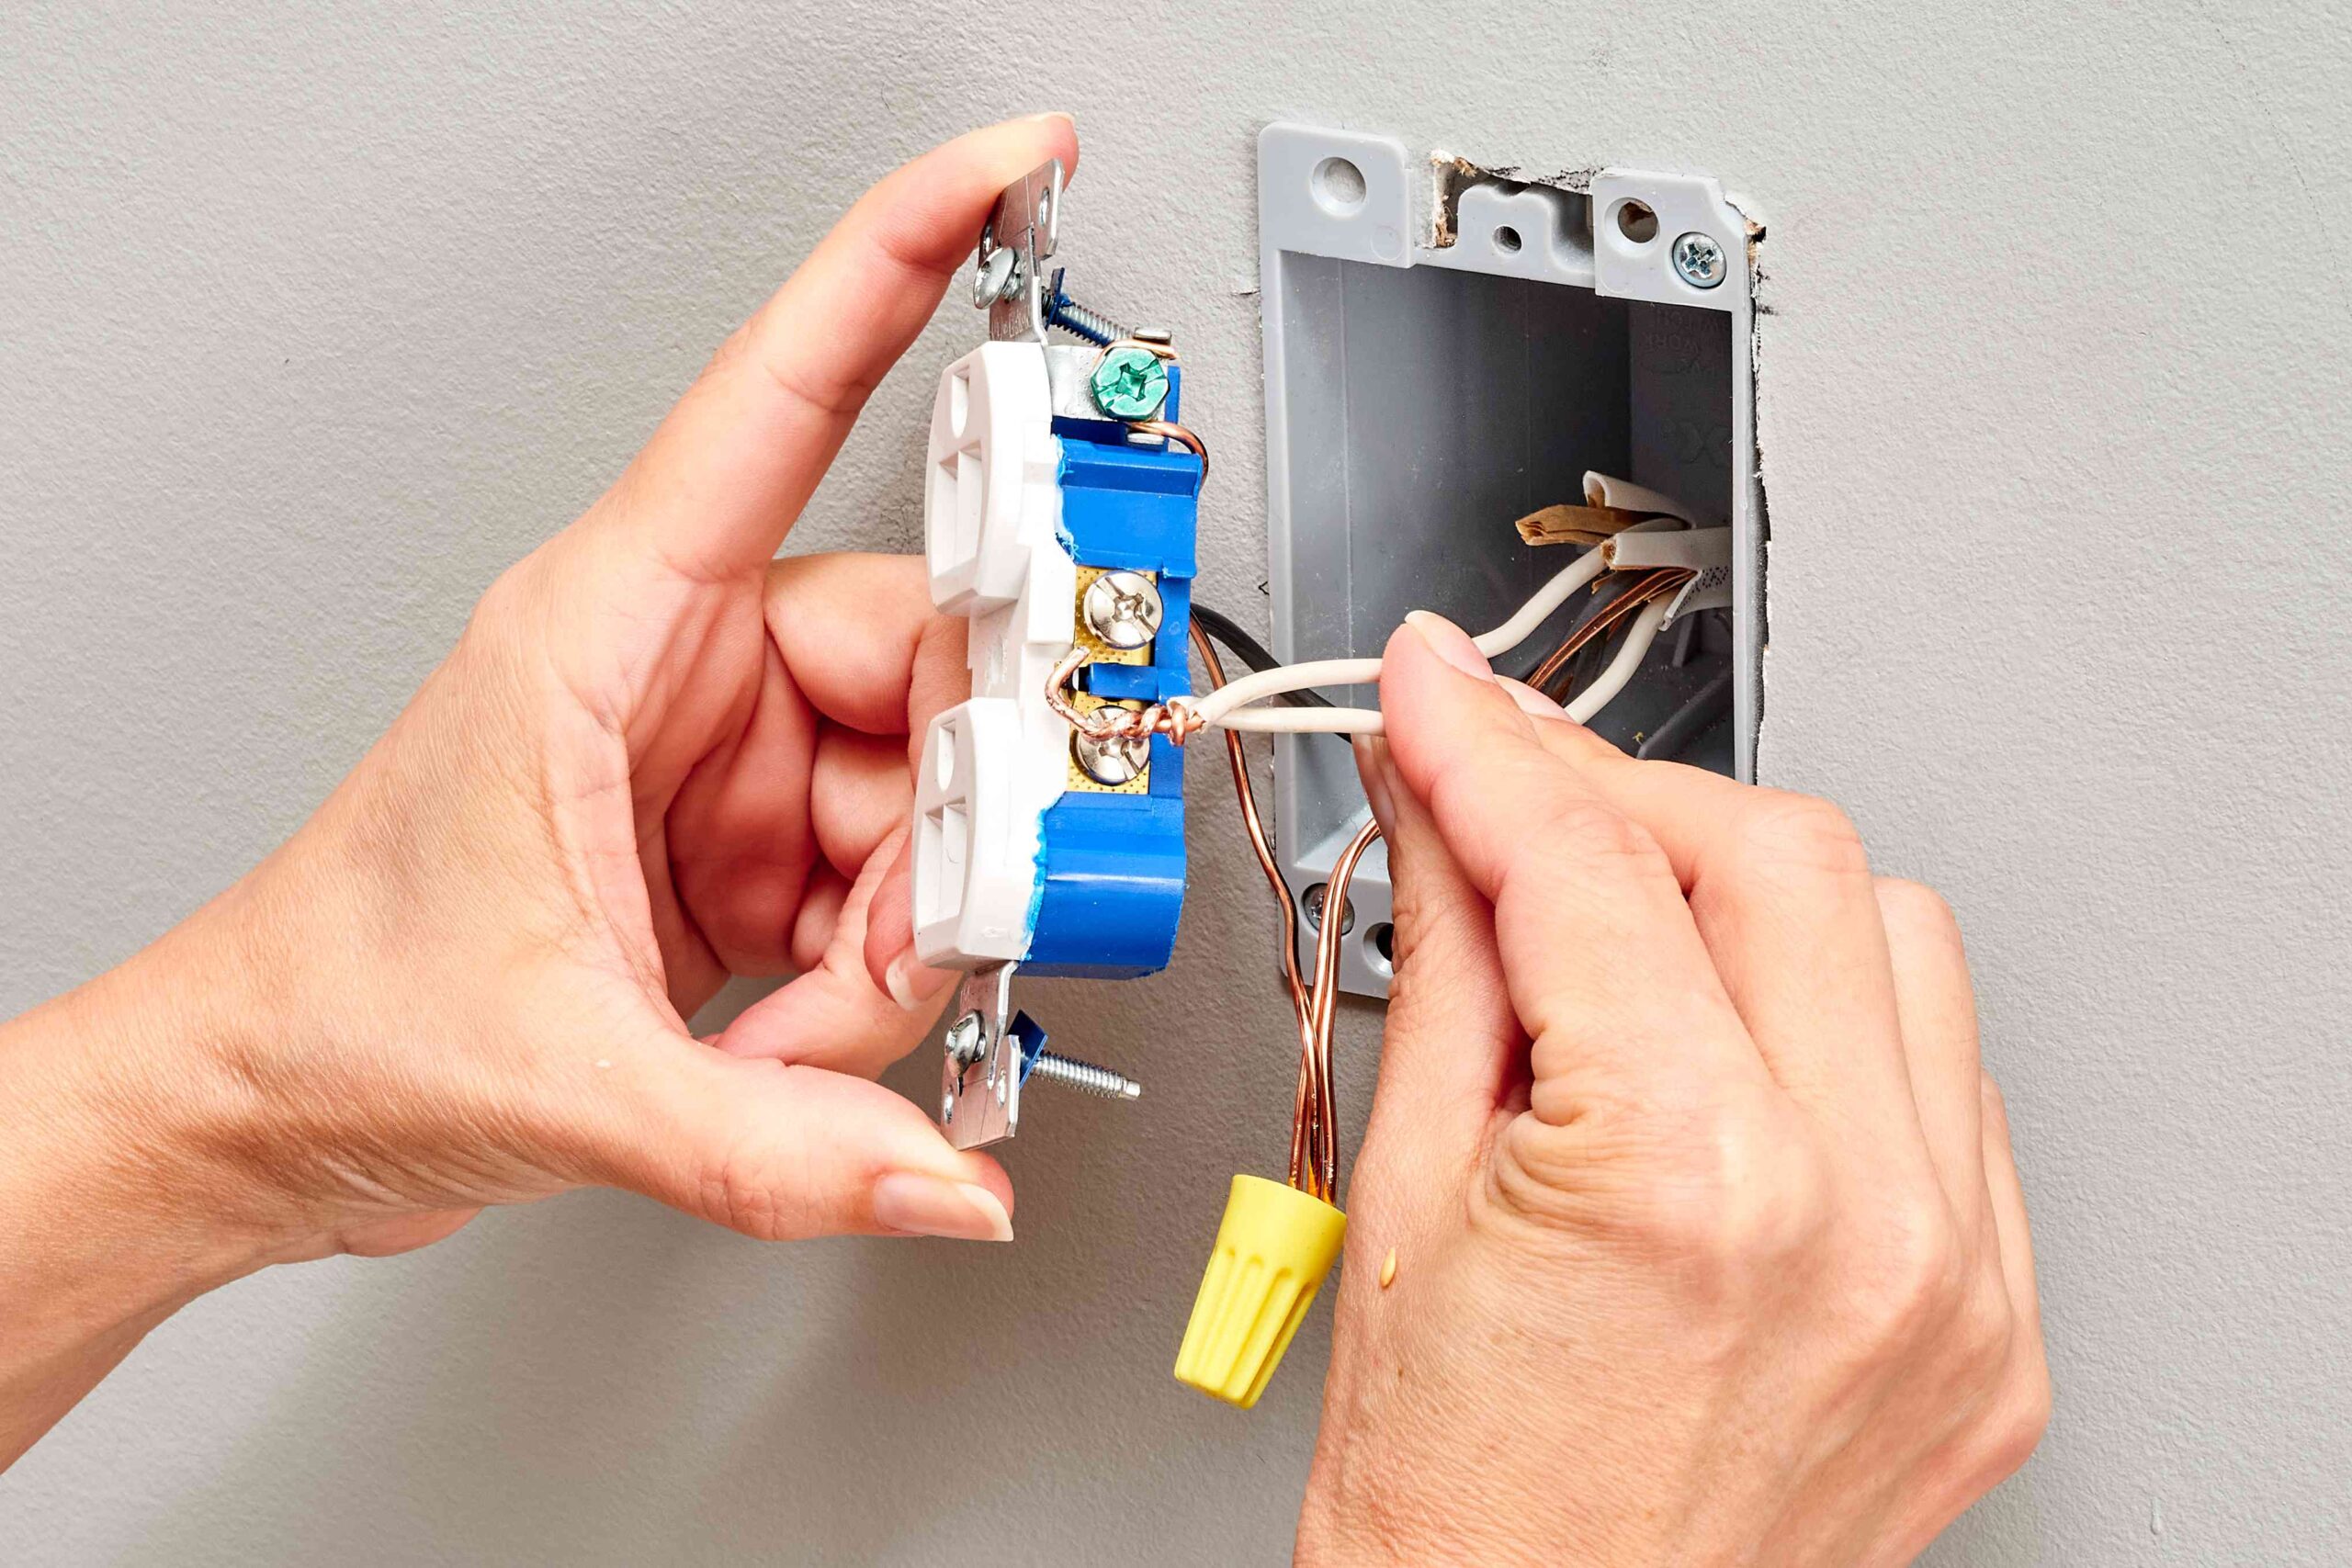
Single-pole switches are the simplest and most commonly used switches in residential settings. They have two brass-colored screw terminals, where the hot wire is connected, and a green screw terminal for grounding. These switches are typically used to control lights in individual rooms or areas.
Three-way switches, on the other hand, are used when control of a light fixture is required from two different locations. For example, a three-way switch can be installed at the top and bottom of a staircase to control the lights. They have three screw terminals, with one being a common terminal and the other two being traveler terminals. The common terminal is connected to the hot wire, while the traveler terminals are connected to the other three-way switch.
Dimmer switches provide homeowners with the ability to adjust the brightness of lights. They are commonly used in rooms where varying levels of lighting are desired, such as dining rooms or living rooms. Dimmer switches come in various styles, including rotary, slide, and touch-sensitive options. These switches typically have a dedicated hot wire connection, as well as one or more load wire connections to the light fixture.
Understanding the different types of light switches and their functions allows homeowners to choose the right switch for their specific needs. Whether it’s a single-pole switch for basic control or a dimmer switch for adjustable lighting, selecting the appropriate switch ensures optimal functionality and convenience.
Identifying Common Light Switch Problems
Now that we have a general understanding of light switch mechanics, let’s explore some common problems that can arise.
When it comes to our homes, light switches play a crucial role in providing us with the convenience of controlling our lighting. However, like any other electrical component, light switches can encounter issues that may affect their functionality. In this section, we will delve deeper into some of the most common problems that homeowners may face with their light switches.
Flickering or Dimming Lights
If you’ve ever experienced the annoyance of flickering or dimming lights, you know how frustrating it can be. This problem can occur for various reasons, such as loose wiring, a faulty switch, or inadequate electrical connections. When the wiring connecting the switch to the light fixture becomes loose, it can cause intermittent contact, resulting in flickering or dimming lights. Similarly, a faulty switch mechanism can also lead to inconsistent power supply, causing the lights to flicker. Inadequate electrical connections, such as loose or corroded wires, can also contribute to this issue.
It’s important to address flickering or dimming lights promptly, as they may be a sign of an underlying electrical problem that requires attention. Ignoring these symptoms can lead to further complications or even pose a safety hazard.

Light Switches Not Working
Non-responsive light switches can be incredibly frustrating, especially when you’re left in the dark. A switch that doesn’t work at all may have a loose connection, a faulty switch mechanism, or wiring issues. Loose connections can occur when the wires connecting the switch to the electrical supply become dislodged or disconnected. A faulty switch mechanism, such as a worn-out or broken switch, can also render the light switch non-functional. Additionally, wiring issues, such as damaged or frayed wires, can prevent the switch from working properly.
When faced with a light switch that isn’t working, it’s essential to troubleshoot to determine the exact cause and rectify it accordingly. This may involve checking the wiring connections, inspecting the switch mechanism, or even seeking professional assistance if needed. Restoring the functionality of a non-working light switch will not only provide convenience but also ensure the safety of your electrical system.
Buzzing or Humming Sounds
Have you ever noticed unusual buzzing or humming sounds originating from your light switches? These sounds may seem harmless at first, but they could indicate underlying issues that require attention. Buzzing or humming sounds from light switches are often a result of loose connections or faulty wiring. When the electrical connections become loose, they can create resistance, leading to vibrations that produce the buzzing or humming sounds. Faulty wiring, such as damaged or frayed wires, can also contribute to these sounds.
It’s important to address buzzing or humming sounds promptly, as they could indicate a potential fire hazard. Ignoring these sounds may lead to overheating, which can result in electrical fires. By addressing this issue promptly, you can ensure the safety of your home and prevent any potential damage to your electrical system.
In conclusion, light switch problems can range from flickering or dimming lights to non-working switches and buzzing or humming sounds. Understanding the common issues that can arise with light switches is essential for homeowners to maintain the functionality and safety of their electrical systems. By promptly addressing these problems, you can ensure that your lights are reliable and your home is protected.
Safety Precautions Before Troubleshooting
Prior to troubleshooting any electrical issue, it’s crucial to prioritize safety. Taking the following precautions will minimize the risk of electrical accidents:
Turning Off the Power
Always turn off the power supply to the affected circuit before working on any electrical components. This can be done by switching off the corresponding circuit breaker in the electrical panel.
When turning off the power, it is important to double-check that the circuit is indeed de-energized. This can be done by using a voltage tester to ensure there is no electrical current flowing through the wires. Taking this extra step will provide an added layer of safety, preventing accidental shocks or electrocution.
Furthermore, it is advisable to inform other occupants of the building or household about the power shutdown. This will prevent anyone from accidentally turning the power back on while you are working on the electrical issue.

Using the Right Tools
When troubleshooting light switch problems, ensure you have the necessary tools such as a voltage tester, wire stripper, and screwdrivers. Using appropriate tools will facilitate safe and effective repairs.
Before using any tools, it is essential to inspect them for any signs of damage or wear. Faulty tools can pose a significant risk during troubleshooting, as they may cause electrical sparks or accidents. Always use well-maintained and properly insulated tools to ensure your safety.
Additionally, it is recommended to wear personal protective equipment (PPE) while working on electrical systems. This includes insulated gloves, safety glasses, and non-conductive footwear. These protective measures will provide an extra layer of defense against potential electrical hazards.
When to Call a Professional
While some light switch issues can be resolved through DIY troubleshooting, others may require professional assistance. If you feel unsure or uncomfortable working with electrical systems, it is best to contact a licensed electrician to ensure correct repairs and eliminate potential hazards.
Professional electricians have the necessary expertise and experience to handle complex electrical problems safely. They are trained to identify and rectify issues efficiently, minimizing the risk of accidents or further damage. Hiring a professional not only guarantees your safety but also ensures that the electrical system is repaired correctly, preventing future complications.
Moreover, attempting to troubleshoot advanced electrical problems without adequate knowledge and skills can lead to serious consequences, including electrical fires, short circuits, or even electric shock. It is always better to prioritize safety and seek professional help when in doubt.
Step-by-Step Guide to Troubleshooting Light Switch Problems
Now that you understand the mechanics and potential problems with light switches, let’s walk through a step-by-step troubleshooting guide:
Checking the Circuit Breaker
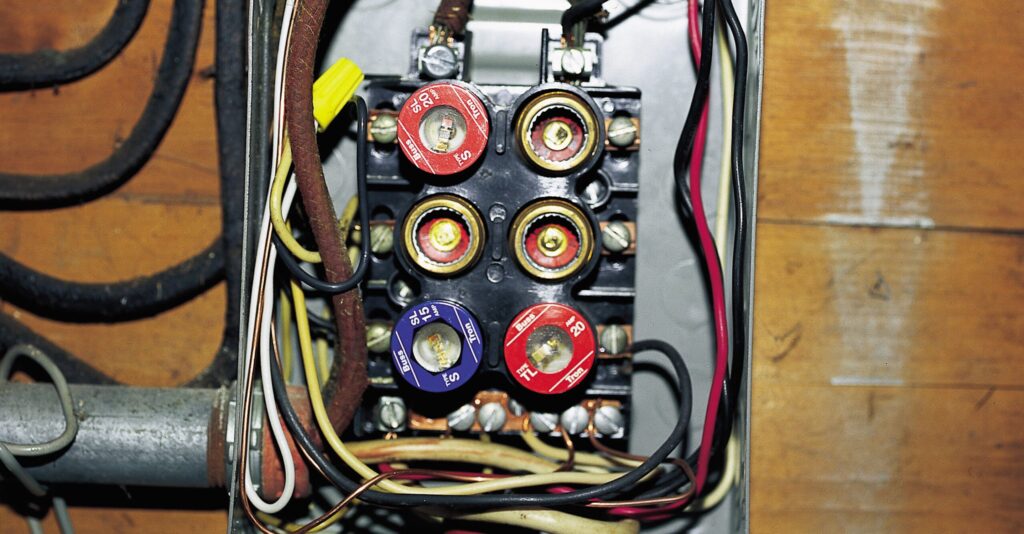
Start by inspecting the circuit breaker to ensure that it hasn’t tripped. If the breaker has tripped, reset it and observe if the issue persists. A tripped circuit breaker may indicate an overload or a short circuit.
Inspecting the Light Bulb and Light Switch
Next, inspect the light bulb to determine if it is the source of the problem. Try replacing the bulb with a known working one. If the light still doesn’t work, move on to inspect the light switch itself. Ensure that all connections are secure and that there are no loose wires or damaged components.
Testing the Light Switch
If the light switch appears to be functioning correctly, test it with a voltage tester to ensure it is receiving power. If there is no power, further investigate electrical connections and wiring to identify any faults.
By following these step-by-step troubleshooting methods, you can effectively diagnose and resolve light switch issues within your home. However, always exercise caution and seek professional help if needed to ensure your safety and the integrity of your electrical system.

No responses yet